Showing posts with label Kitchen. Show all posts

Summer in the Kitchen

Jun 4, 2014

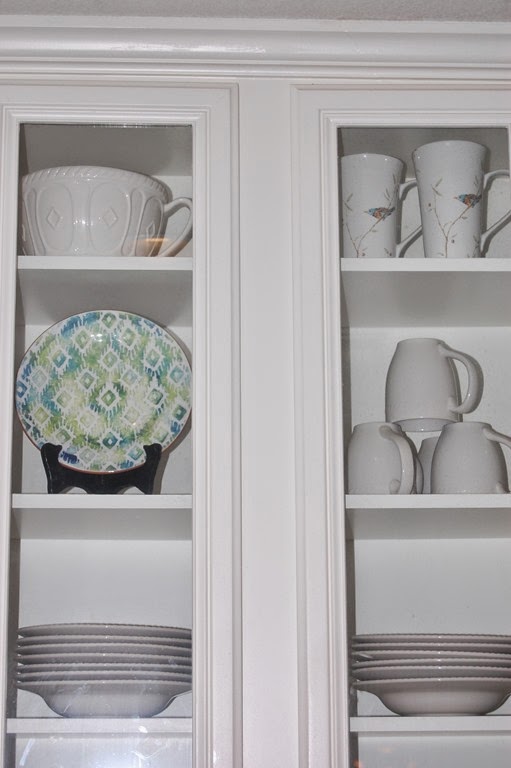
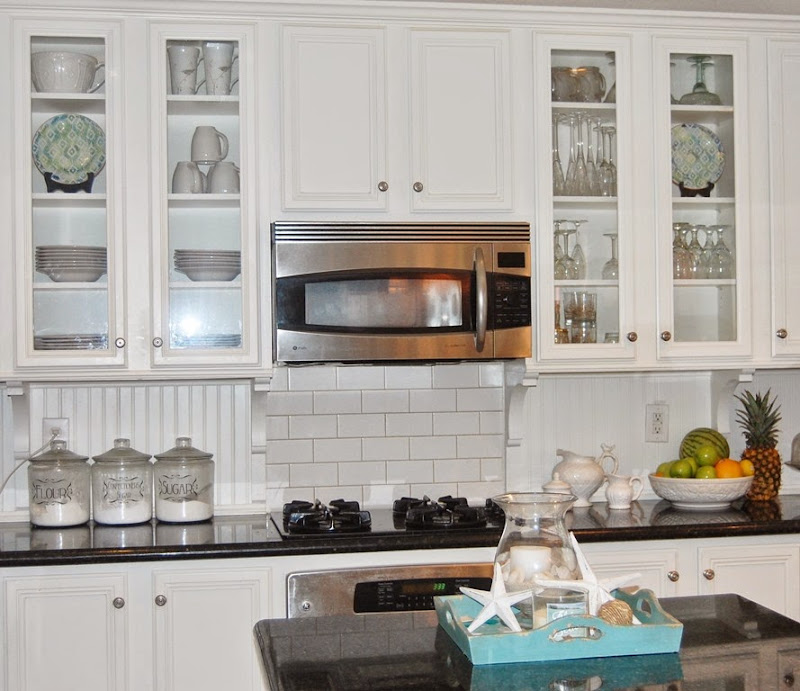
I love the blue and white willow dishes I normally display in my kitchen, but I wanted to change it up a bit for summer. These patterned dishes from Pier 1 fit right in with the lighter blue and green color scheme I had in mind.

DSC_3970


My mom found a new tray for the island that goes great with the dishes.

DSC_3974


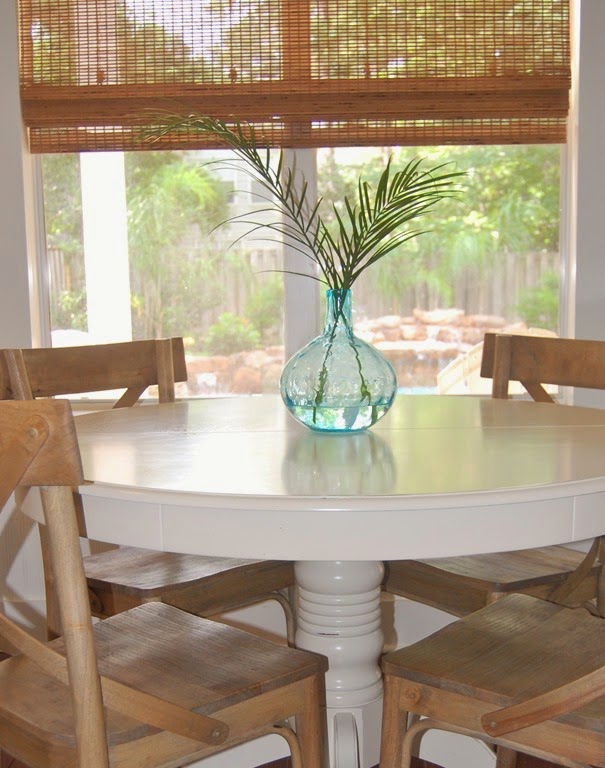
You might remember the touch of blue on the breakfast table from an earlier post. These palm fronds are still just as fresh now as they were in this picture. Crazy! I might be decorating with palm fronds more often.

DSC_3936


It's amazing that just a few new items and moving a vase from the family room can make such a difference.

DSC_3966

Are you making any changes to your home for summer? I used to never decorate seasonally, but I'm finding it's fun as long as they are very small changes. Now, if I could just apply this philosophy to Christmas!


New House Updates

May 21, 2014

I haven't updated since last week because it's been crazy around this house! I had one of those weekends where my kids must have been slipped an energy drink. Anyway, I was recovering on Monday morning with a cup of coffee and did not get into my usual frentic cleaning routine since weekends turn my house upside down. I puttered around and noticed some changes needed to be made. I moved a few things around and began getting ideas. I know I'm not the only one that does this!

I bought a chair recently from Target.com for my living room. It was cute, cheap and would go perfect in the corner of the room near the tv. It arrived quickly, but I had to put the entire thing together. It wasn't a simple screw in the legs either. I thought it looked a little small, but when I put it in the corner I realized it was extremely small. I've been trying to come up with ways to make it work because I really didn't want to go through the hassle of shipping it back. I realized on Monday there was no way I could keep it in my living room. I put it in the office as a desk chair and it was even too small for the desk. Who knew there were even chairs this small?! I tried it in the tiny space that I thought was too small for a chair across from the desk and it fit perfectly!


I've been considering adding a bit of tan in here for a while, but this sealed it. I dug out some old Ikea linen (linen-like) curtains and they went great. I still needed a desk chair and immediately knew one that would go perfect from World Market. I took a girlfriend with me and she watched my indecision firsthand as I stared at it. She's seen me do this before so she dared me to buy it, lol. So, I did!


It's amazing how two chairs and a pair of curtains have transformed this room. Now, I just need to clean it up and hang the pictures I bought a year ago on the walls. If you're wondering what took me so long to work on this room it's because I avoid it like the plague. My husband took this office over and uses it to work out of the house a few days a week. There is stuff everywhere and I don't know what's important to keep or throw away. I have just been shutting the door with the hope he'd eventually find the time to straighten up. It never happened, but he will now be working out of his real office in the city instead so I'm taking this room back! Yes! He promised me we would de-crapify it this weekend. We'll see...

While I was at World Market I also picked up these cute wooden starfish. I've never been one for seasonal decorating until the past couple of years. I used these and a few other things I already had to make a summer centerpiece for my island. It's a bit cheesy, but the kids like it. Okay, the kids don't care, but I like it. I'm sure I will be horrified and think WTH was I thinking later, but it works for now.


And, finally...the oar in my son's room got it's stripes. Do you remember me saying last week I was going to paint red stripes on it?

DSC_3904


Well, I actually did it and love the way it turned out!


It took me less than twenty minutes to tape off and spray paint it. I roughed it up a bit after it dried so the red would look a little distressed like the white areas. My son still isn't interested in his room, but that's okay. It just gives me free reign to do whatever I like in here. ;) I'm off to buy a few things today and keep this decorating mojo going! Have a great week!


Easter in the Kitchen

Apr 7, 2014

So, I've never decorated any part of my home for Easter. Before I had kids I always imagined that I would have a family of ceramic bunnies in my kitchen and giant faux Easter eggs in my front yard. Then, I had kids and realized my former self was insane. I can barely keep up with the necessary parts of Easter, like stuffing tons of plastic eggs with candy the night before my kids' school egg hunts. This year I finally shopped early and spent the extra money for pre-filled eggs. Why didn't I do that before? I also found a few Easter décor items for the house while out shopping this week. I can't tell you how together I feel right now.

Breakfast Room Centerpiece

easter2


The coffee bar got bunnified, too.

eastercb

The eggs are from Pottery Barn, which are already on sale. Both of the bunnies were found at World Market for just a few dollars each. These touches of Easter may be small, but they made a big impact with the little guys in this house. Plus, smaller décor is easier to store!


http://tatertotsandjello.com/2014/04/link-party-palooza-ride-shop-giveaway.html


The Scoop

Christmas Home Tour 2013

Dec 3, 2013

Welcome! Come inside and my little elf will show you around.

christmas home tour


There he is! His name is Mario. He's...an Italian elf?

DSC_3569


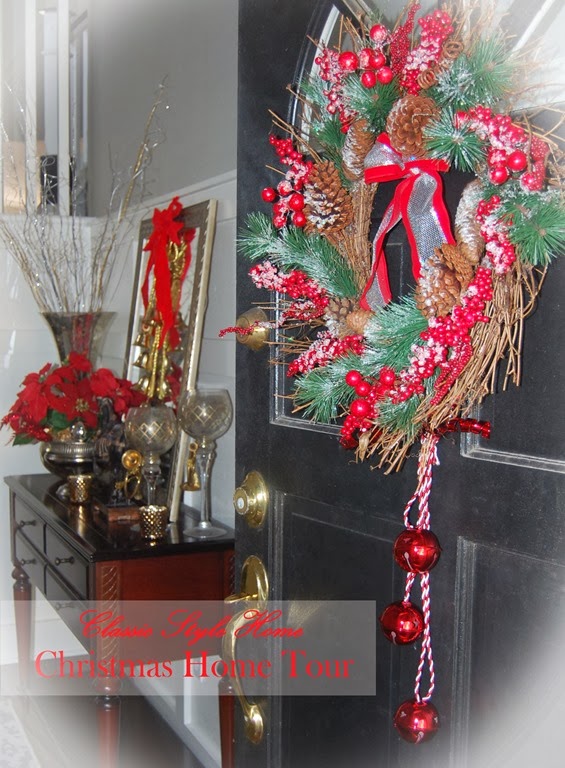
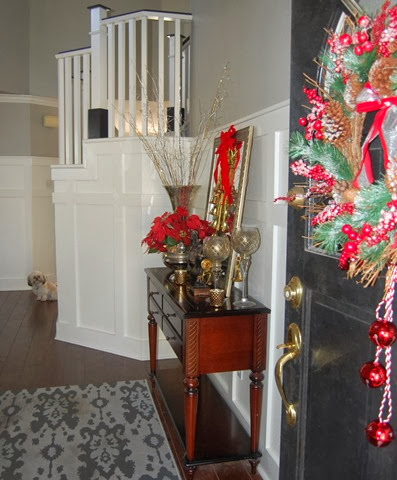
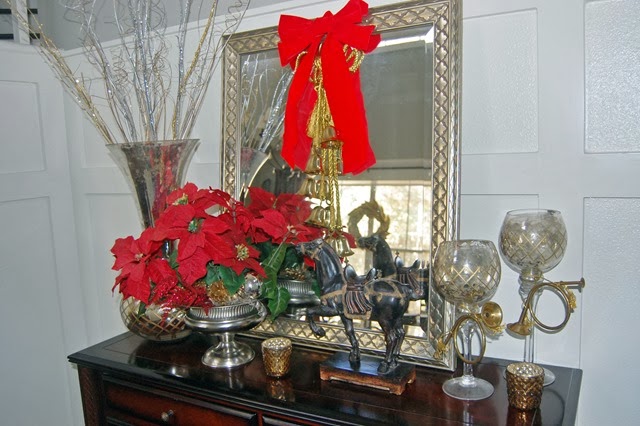
Because my decorations are neutral in the back of the house, I decided to go with a pop of red in the front.

DSC_3559_edited-1


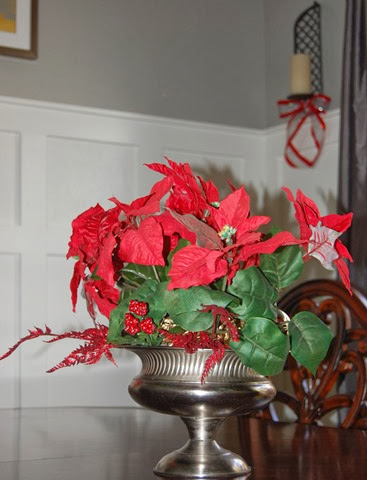
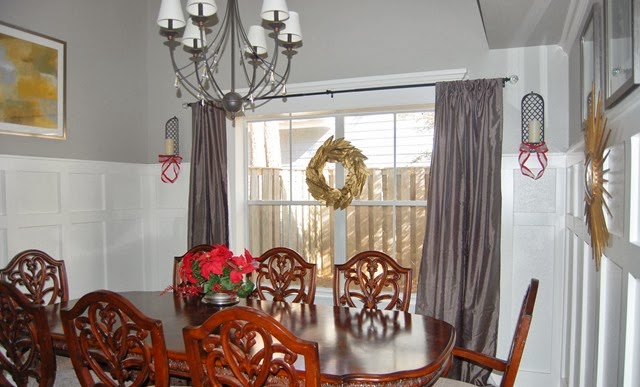
Off the entryway is the dining room. A small centerpiece and a bit of ribbon is enough for everyday, but I do plan on putting together a tablescape for Christmas Eve.

DSC_3564


DSC_3562_edited-2


DSC_3563_edited-2


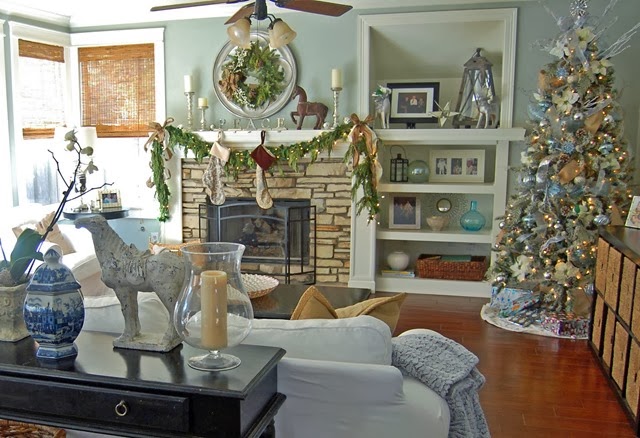
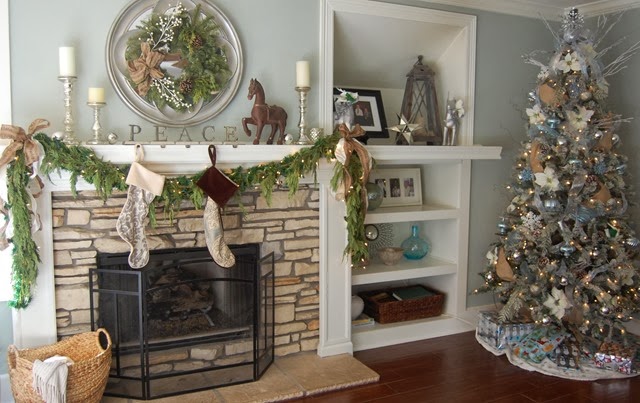
Once you turn the corner into the living room the décor is completely different. It's cool and neutral, which blends perfectly with the room.

DSC_3547_edited-2


DSC_3536


DSC_3538


DSC_3539


Mario is all ready for Christmas in his holiday sweater. I think red is his color.

DSC_3576


Seriously, could he not be a dog model?

DSC_3578

He doesn't move once you put the sweater on and I had to walk around him to take the picture. I wish my kids would take note!

On the other side of the great room I continued the neutral décor, but I did add a few pops of red.

DSC_3544_edited-2


DSC_3550_edited-1


DSC_3551_edited-2


DSC_3545_edited-1


Looking from the kitchen into the living room.

DSC_3546_edited-2


And from the living area to the kitchen.

DSC_3584


I also put a tree in my boys' game room. I needed a place to put our sentimental ornaments and the ones that the boys look forward to seeing every year.

DSC_3592


DSC_3589

Thanks for stopping by!


treeparty2013


Holiday Link Parties


Jennifer Rizzo's holiday housewalk link party. Link up your home for a chance to be in next years house walk.

Five Easy Steps to An Organized Kitchen

Aug 22, 2013

I have organized and reorganized my kitchen cabinets too many times to count. Some areas stay organized and some are back to a chaotic mess within weeks. After almost ten years in this home, I've finally realized why and I've narrowed down kitchen organization to five simple rules.


1. Don't stack items you use regularly.


DSC_3313

Instead of stacking items on top of each other, use a shelf to maximize space. This cabinet holds small kitchen appliances and has stayed looking just like this for the past two years.

I took this same concept and repeated it with the rest of my small appliances. I stole the other white shelf from my island cabinet and now it holds a tray I haven't used in years. I put smaller items and appliance accessories in it. Rarely used items, like my breadmaker, sits in the back.

DSC_3314


2. Make it easy to get items out of the cabinet.

The white shelf above used to be in my island for bakeware. I stacked cookie sheets and cutting boards on top and baking pans underneath. Not only did stacking the cookie sheets and cutting boards create a mess, but I could not get them out because of the center cabinet beam. I had to find the right one, slide it out from underneath the other pans, and then turn it sideways to avoid the beam. I ended up putting a ton of nicks in the center beam that way.

DSC_3311

I decided to use my saucepan lid holder so the cookie sheets can slide right out. I also don't have to stack them on top of each other any longer. Behind the center beam I stacked items I don't use often, like my Tupperware cupcake holder and springform pans.


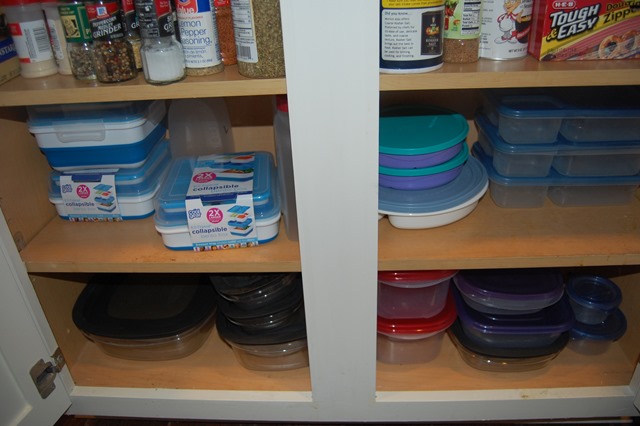
3. Store items with the lids on.
DSC_3318


DSC_3308

I had a saucepan lid holder (that now holds the cutting boards and cookie sheets), but I never actually used it. Also, when the lids were separated I had to go through each one to find the correct one. What a pain!

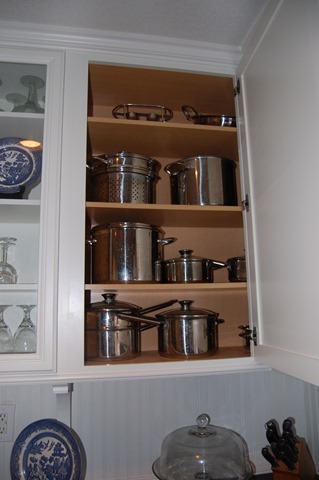
Some may find an upper cabinet a strange place to hold saucepans, but it is so much better than having them in a deep base cabinet. I used to take out the pans in the front to reach the ones in the back. When I unloaded the dishwasher I just threw them in the bottom cabinet and shut it hard so they would stay. I know I'm not the only one that has done this!

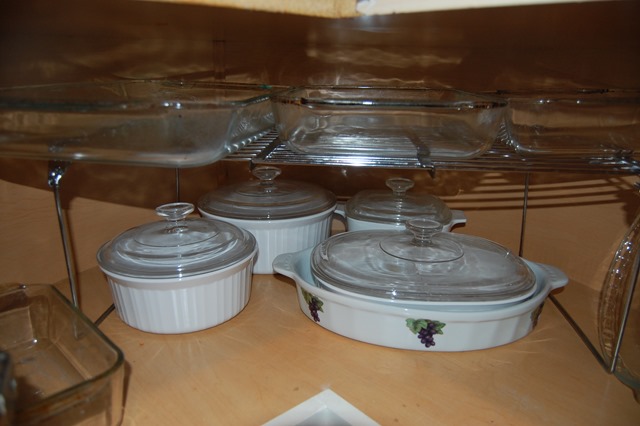
The deep corner base cabinet now holds my bakeware. Lesser used items are in the back (actually never used items, lol). I use the three glass pans on top the most so I made sure I can slide those in and out easily. The shelf above (not pictured) holds my fry pans in the same way.
DSC_3309


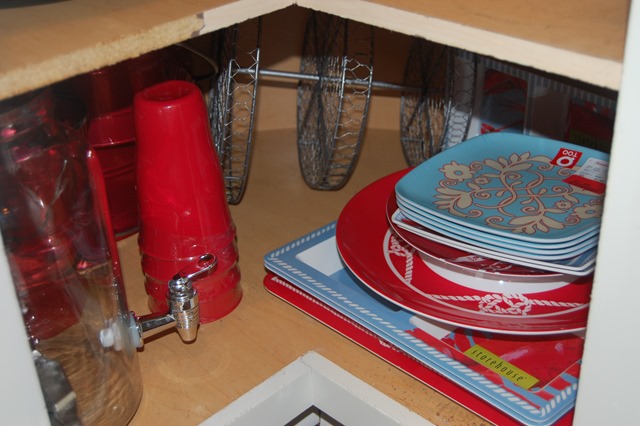
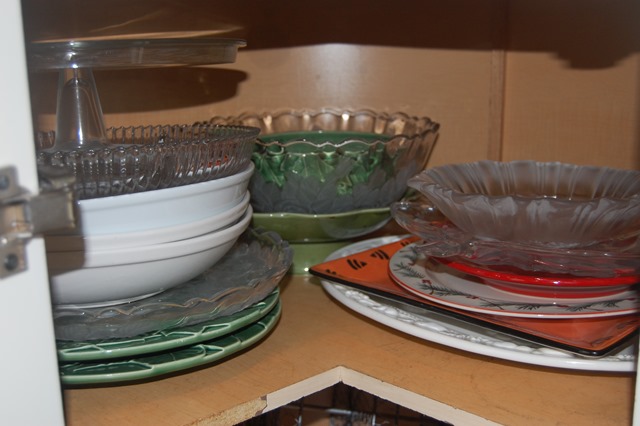
The other deep base cabinet in the corner holds serving ware I don't use often, which is why they are stacked. The holiday serving pieces are stacked together on the right. I didn't even know I owned some of these things!
DSC_3316


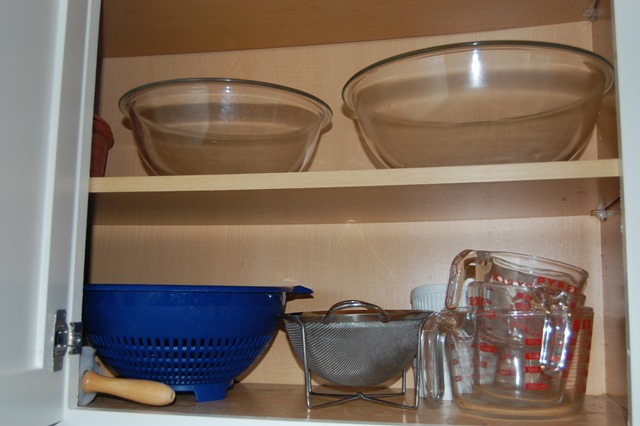
More bakeware that is not stacked (minus the measuring cups) because I use them often. These are in an upper cabinet for easy reaching, too.
DSC_3317


Outdoor serverware

DSC_3315


4. Collate smaller items into bins.

DSC_3321

Medicines are stored in one bin. I've had this one for years and only go through it when it gets full to throw out old meds. The only problems I had with this is when the band-aids would get loose and collect at the bottom.

I decided to put them in a separate container with the antibiotic ointment. Now, I can take this box to where the injured person is sitting. It's actually a pencil box I bought at Wal-Mart for less than a dollar. I have another box like it for batteries that you can see in the picture above.

DSC_3325


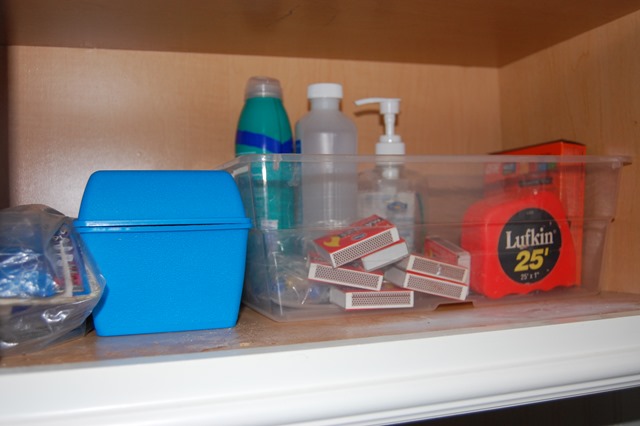
Another bin holds things we use often-outdoor things, measuring tape, matches, super glue, pool stuff.
DSC_3322


5. Stack lesser used items and store them in the top or back of the cabinets.

DSC_3319

I have two sets of china on the upper shelves. In case you're wondering, all of those loose papers are recipes I printed out from the internet. If they're good I transfer them to a card in the recipe box. I obviously have a lot of recipes I need to try!

Everyone has different items and sized kitchens, but just following these few rules has helped me get and stay organized. The best part is you don't need to buy expensive organization items. All of mine were bought at Wal-Mart. Feel free to share your best tips!