Christmas Home Tour 2013

Dec 3, 2013

Welcome! Come inside and my little elf will show you around.

christmas home tour


There he is! His name is Mario. He's...an Italian elf?

DSC_3569


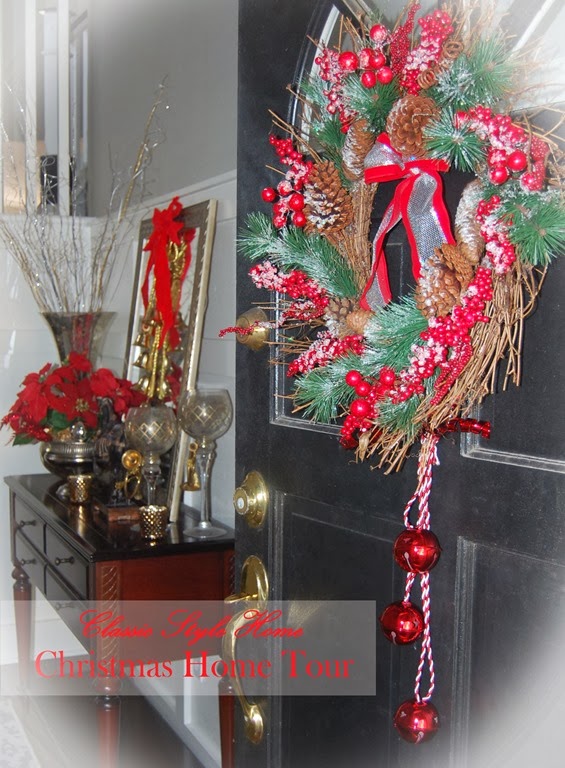
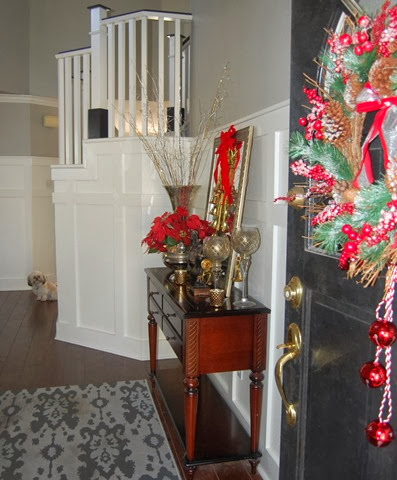
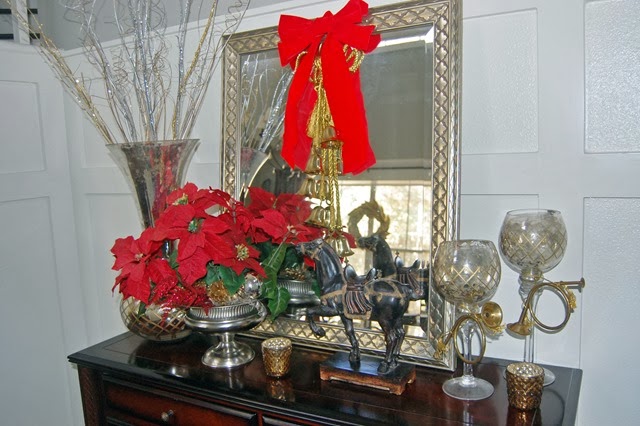
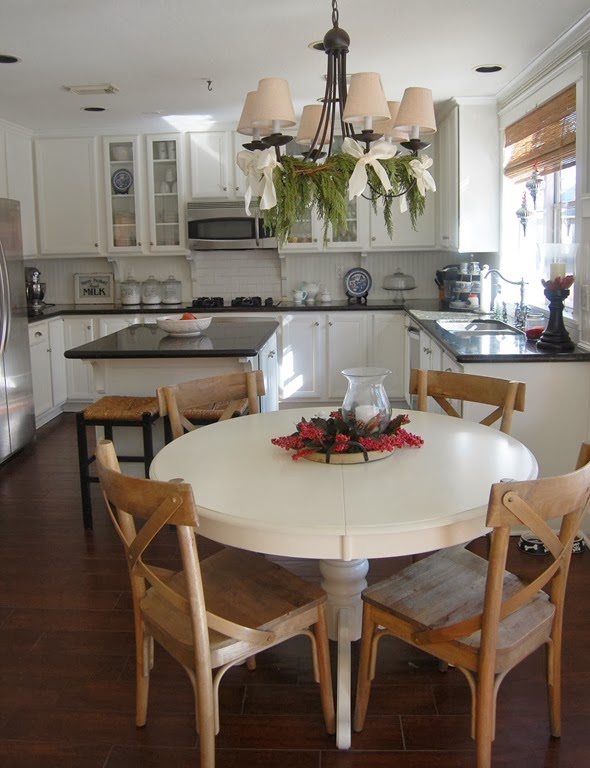
Because my decorations are neutral in the back of the house, I decided to go with a pop of red in the front.

DSC_3559_edited-1


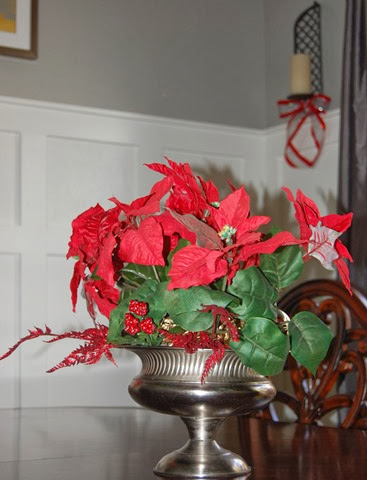
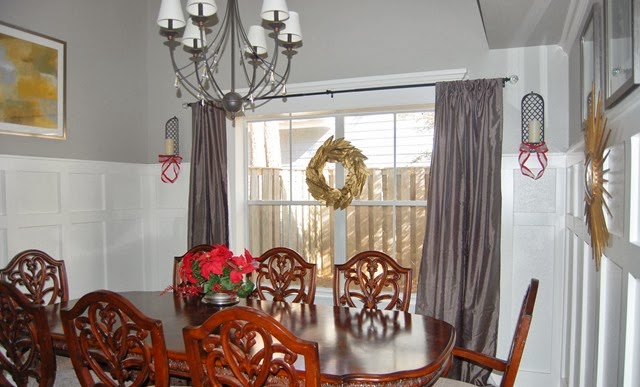
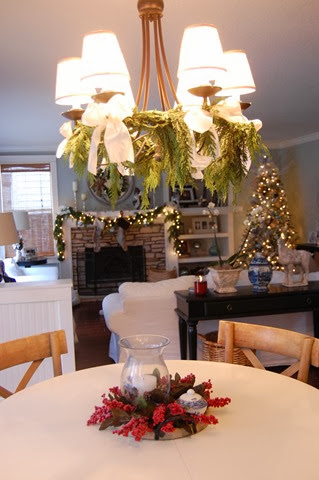
Off the entryway is the dining room. A small centerpiece and a bit of ribbon is enough for everyday, but I do plan on putting together a tablescape for Christmas Eve.

DSC_3564


DSC_3562_edited-2


DSC_3563_edited-2


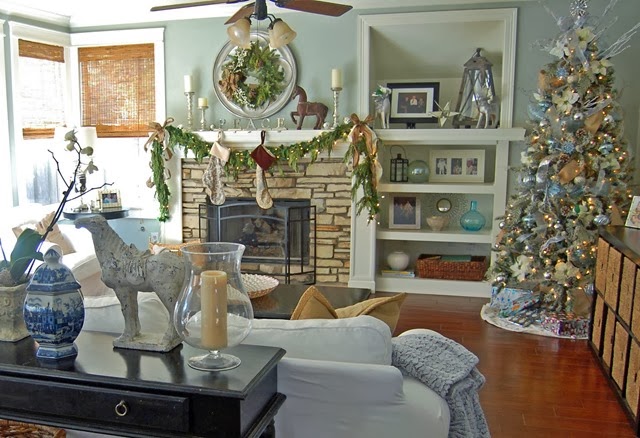
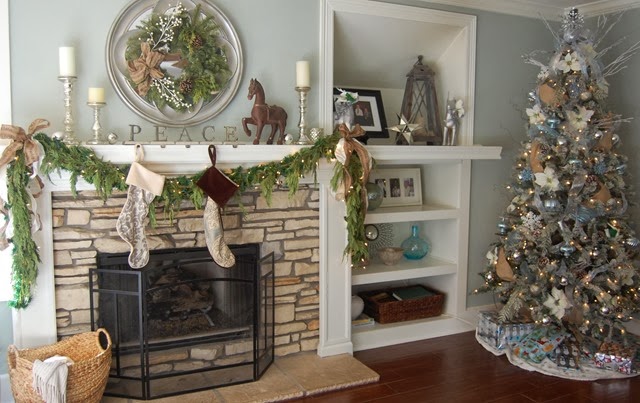
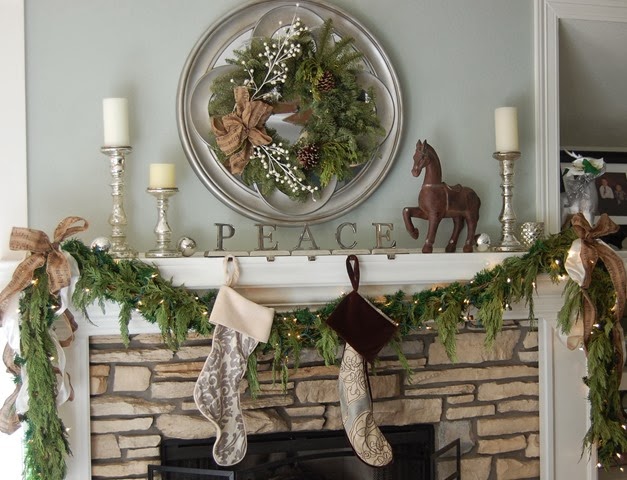
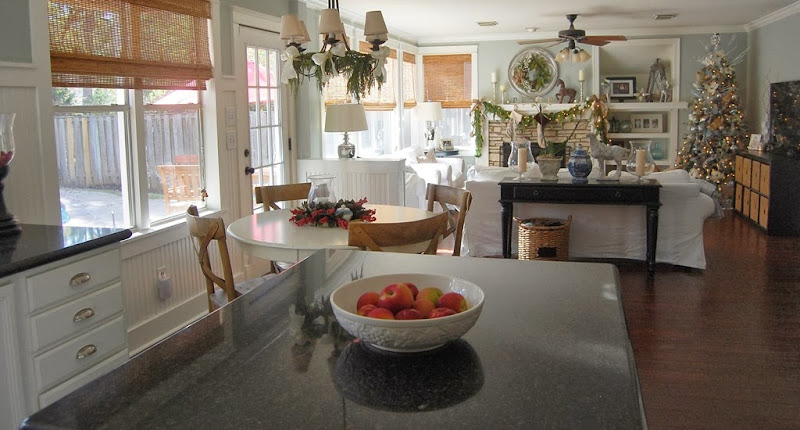
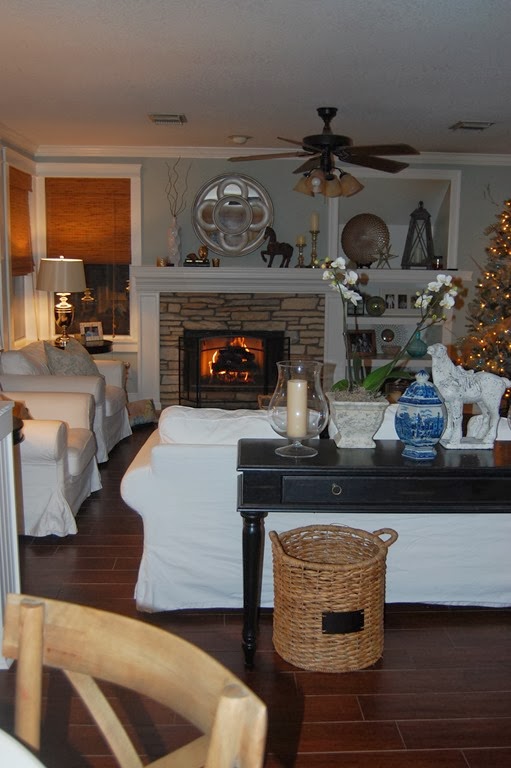
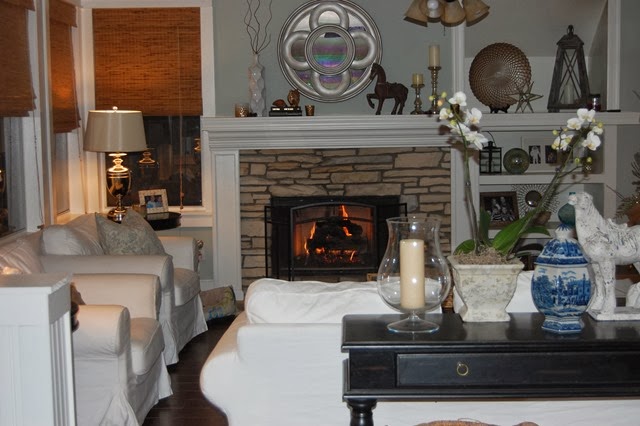
Once you turn the corner into the living room the décor is completely different. It's cool and neutral, which blends perfectly with the room.

DSC_3547_edited-2


DSC_3536


DSC_3538


DSC_3539


Mario is all ready for Christmas in his holiday sweater. I think red is his color.

DSC_3576


Seriously, could he not be a dog model?

DSC_3578

He doesn't move once you put the sweater on and I had to walk around him to take the picture. I wish my kids would take note!

On the other side of the great room I continued the neutral décor, but I did add a few pops of red.

DSC_3544_edited-2


DSC_3550_edited-1


DSC_3551_edited-2


DSC_3545_edited-1


Looking from the kitchen into the living room.

DSC_3546_edited-2


And from the living area to the kitchen.

DSC_3584


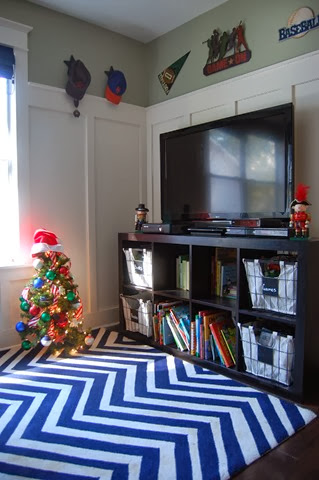
I also put a tree in my boys' game room. I needed a place to put our sentimental ornaments and the ones that the boys look forward to seeing every year.

DSC_3592


DSC_3589

Thanks for stopping by!


treeparty2013


Holiday Link Parties


Jennifer Rizzo's holiday housewalk link party. Link up your home for a chance to be in next years house walk.

It's Officially Christmastime!

Dec 2, 2013

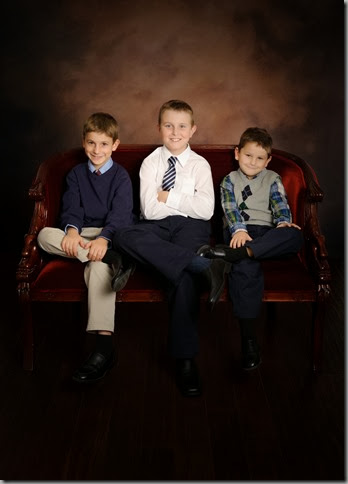
I hope you had a great time with your family this Thanksgiving. We have some great cooks in our family so I couldn't help but overindulge. It was so nice to spend the day with family and catching up since we don't see each other much. As I looked at my friends' postings about their Thanksgiving I noticed many of them used the family gathering as an opportunity to get a big group photo. I will definitely do that next year and have no idea why that didn't occur to me before. I may take tons of pictures of my house, but I have a horrible habit of not taking family pictures unless you count Mario photobombing. My boys leap out of the way of the camera or use it as an opportunity to make faces, and then I give up. I did have professional pictures taken this year, which I have neglected to do the last several years. I love these pictures so much and I've realized this is just something I'm going to have to do every year no matter how hard it is to organize. Do you want to see?

Favorite

I think this picture was so worth the kids' tears, tantrums, and screaming about how they are going to look like a nerd in a button shirt. My 5 and 7 year old cried so hard they passed out in the car on the way to our appointment. It's a good thing they're cute!

Here are a few more.

3rd Favorite

Clark-5254


Clark-5280    Clark-5285


Clark-5292    Clark-5294


Clark-5312   Clark-5324


This post was supposed to be about Christmas decorating and took a turn as I started typing. I'll get back on point now!

I should have been finished decorating by now since I started so early this year, but between holidays and an illness it's been difficult. I'm hoping to finish up later in the week or by the weekend if nothing else crops up (fingers crossed). This is why I should always start decorating and gift buying early. You just never know what life will throw at you!

Here's a sneak peek at what I've been working on.

DSC_3534

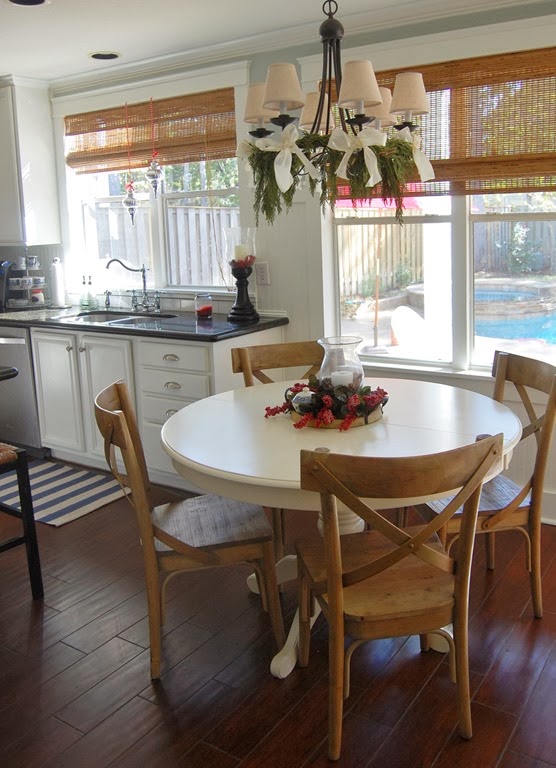
It's very different from last year's decorations, which were mostly red. It felt out of place in my neutral and calm great room. I found myself counting down the days until I could take it down. I wanted to decorate with colors that would blend in with my current décor this year. This was not easy for me since I'm used to decorating with traditional Christmas colors, but I'm really loving the way it's turning out. The only red you will see is in the kitchen and even then it is in very small doses.


Thankfully, I'm almost finished decorating so it shouldn't be long before I have pictures for you. How are your Christmas preparations going? I only have a few gifts left to buy so I'm feeling good this year!


Silver and Gold Thanksgiving Table

Nov 26, 2013

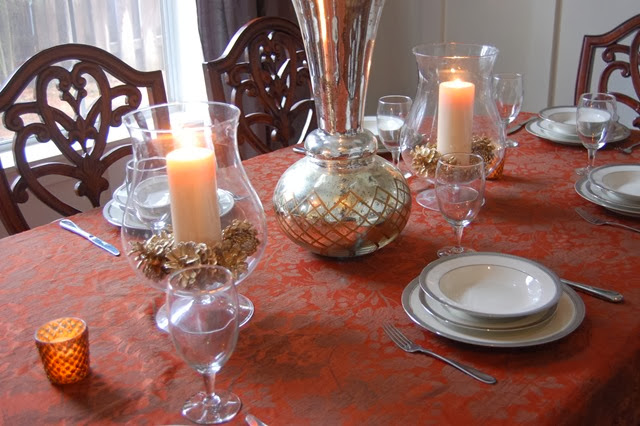
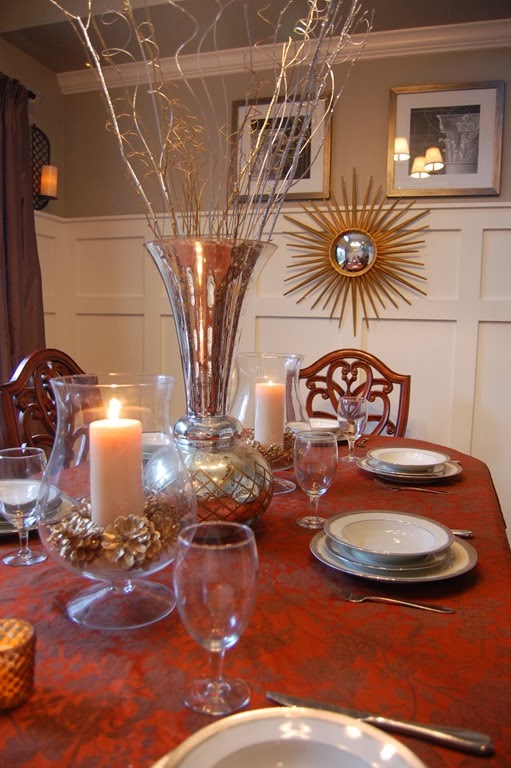
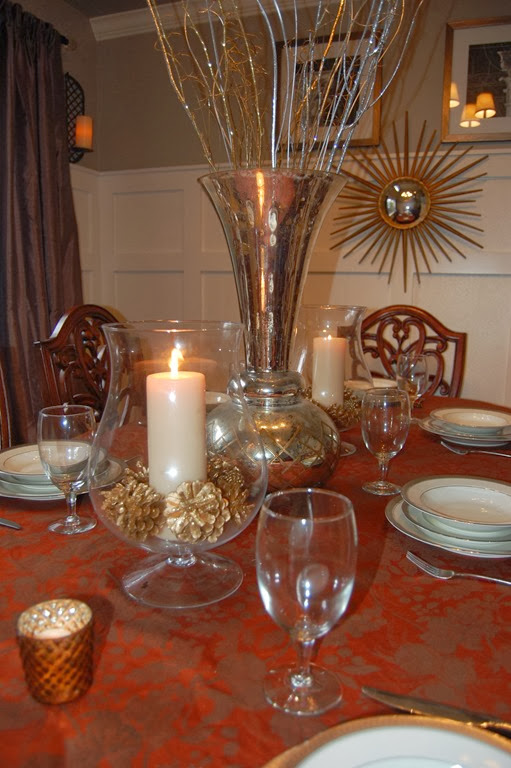
I had great plans for my Thanksgiving table this year, but I waited too long to decorate. I could not find even one pumpkin last week! I did find one lonely mum in a Halloween basket that I grabbed, but I already killed it. Yes, in one week. Oh, well. Thankfully, I always have my hurricanes and large mercury glass vase that works in a pinch. I can get so many different looks by switching out the branches and vase filler. My dining room is on the formal side and already has a mix of silver and gold décor, so I just added glittery branches and pinecones in the same colors.
DSC_3509


You might notice the new pictures and sconces. Yes, this dining room is finally done!
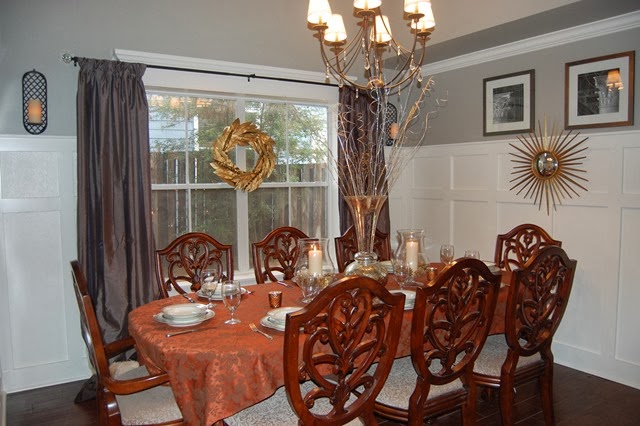
DSC_3505

Well, there are always little details I would love to add, but they are minor and can be added later. I really wish I had room for a buffet, but it’s more important to have the biggest table possible with almost all of my extended family living nearby. I keep picturing a mirrored buffet piece under the sunburst mirror. Wouldn’t that look great? I think so too, but I just don’t have enough space.

Here’s the view from the other side.
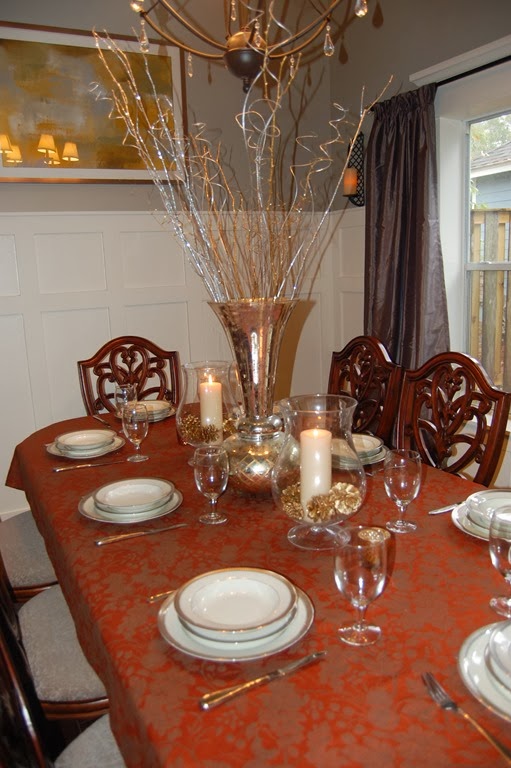
DSC_3506

I wasn’t sold on the sconces for the longest time, but I’m so glad I didn’t return them. Once I added the LED candle I just loved the ambiance they create. Isn’t that what we always look want in a dining room? My husband says they remind him of being in New Orleans. There’s that too, I suppose. Men always have the funniest comments when you ask for their opinion.
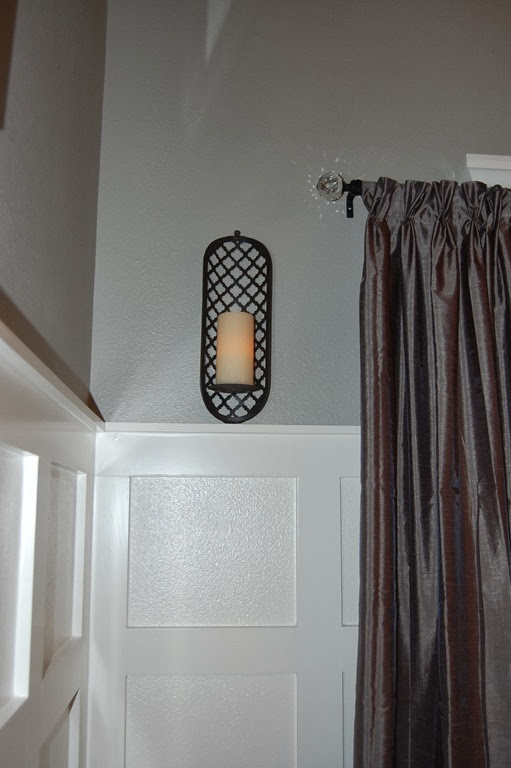
DSC_3507


Just candlelight

DSC_3520


DSC_3524

The copper mercury glass candleholders on the table were from my fall mantel, which is now all decorated for Christmas. I moved all my fall décor to the entry and dining room, and only decorated the great room for Christmas since I’m hosting Thanksgiving this year. I didn’t want to disrespect Thanksgiving! Actually, it doesn’t matter to me since Thanksgiving isn’t about décor for me. It’s all about the turkey, baby! I know not everyone feels this way so it might be Christmas in the back of the house, but it’s all Thanksgiving in the front.

My owls from the mantel found a new place on the console table (along with my half dead mum).
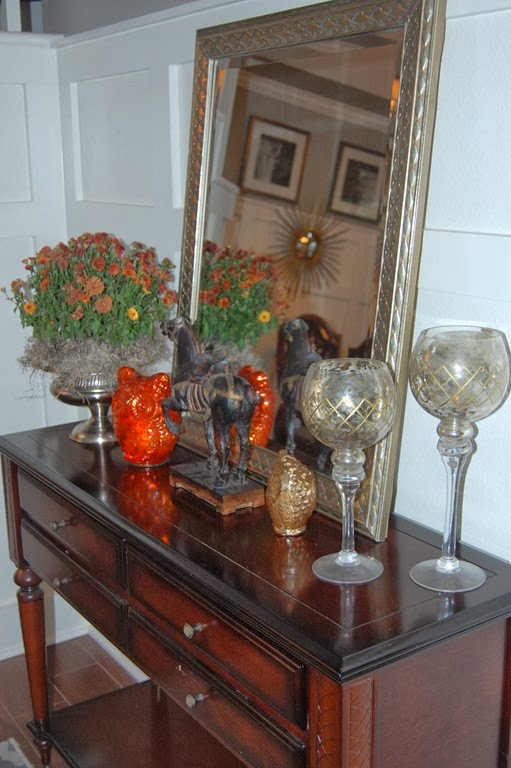
DSC_3518


The view as you walk in the door.

DSC_3515

I like that the dining room mirror and artwork can be seen from the front door. It feels so fancy! The dead mum kind of ruins it though and Mario is photobombing again.

One last look…

DSC_3519


DSC_3522


DSC_3510

Have a wonderful Thanksgiving!


http://thriftydecorchick.blogspot.com/2013/12/december-before-and-after.html

How to Paint Laminate Cabinets

Nov 19, 2013

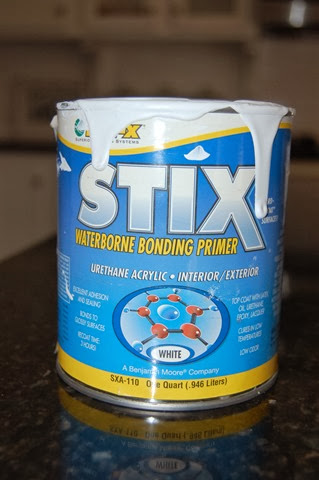
I know I'm not the only one that has been completely confused about how to paint laminate cabinets since they are more plastic than wood. All of my bathrooms have them, but the ones in my boys' bathroom was in serious need of a paint job. I remembered seeing a primer at Benjamin Moore a while back that claims to work on wood and plastic. The best part is that it's water based. I've never had good luck with anything other than oil-based paint and primer for wood surfaces, but the long drying time made me want to try this new primer. I'm so glad I did because not only does it dry faster, it's so easy to work with and gives me the same satin feeling results as an oil-based primer and paint. Here's what I used.

The Primer

DSC_3517

The salesman said sanding isn’t necessary with this primer, but I still lightly sanded the surface just to be on the safe side. It is super thick and has the consistency of glue and I was really impressed with how well it bonded to the cabinet. I lightly sanded it again once the primer dried to get a smooth surface for the paint, but was careful not to sand off the primer.

The Paint

DSC_3518

It's hard to see the label because of the paint drip, but it’s Advance waterborne interior alkyd.


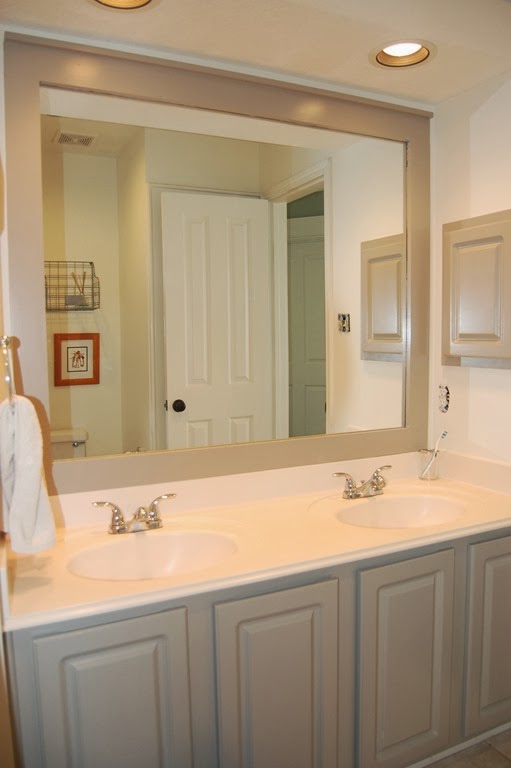
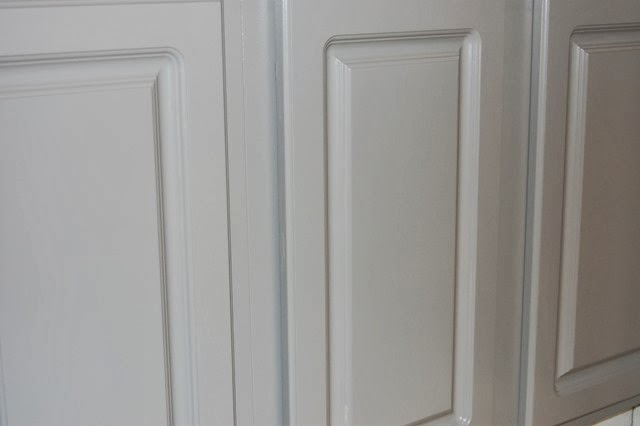
Here it is finished!

DSC_3521

I used Rockport Gray on the cabinets and mirror frame we built. FYI-If you build a mirror frame make sure you paint the back of the wood before you install it. We didn't do that and the white color on the back of the boards is reflected in the mirror. Thankfully, it's only in certain spots and not really noticeable unless you look really close.


DSC_3522

I have three boys, but only one toothbrush is in the holder. Where could the other two be?!


DSC_3523


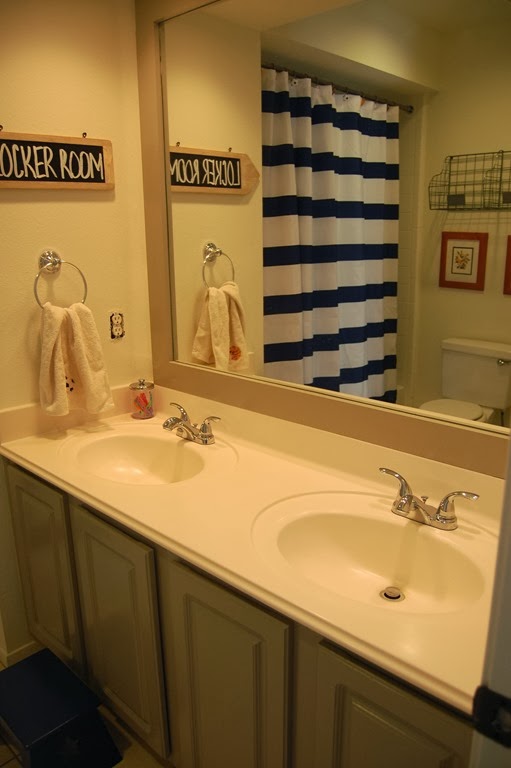
Here's the progress I've made so far.

DSC_3524

Since all three boys share this bathroom, I decided to go with a sports theme since it's something they all like. I couldn't find a cute "locker room" sign that didn't cost a fortune, so I bought a chalkboard sign at World Market and made one myself with a chalk marker. I really need stencils to make the letters look nicer, but I wanted to make sure it would work. The sign also might get a coat of paint.

The shower curtain has been here for a while and I haven't decided if it's going to stay. I'm not sure if I like the navy with the cabinet color. The walls are BM Dove White, which makes the bathroom feel clean even if it is not clean 90% of the time with three boys using it. The pictures over the toilet will be getting new frames, but I'm happy I was able to re-purpose the prints from my son's room. I found a great locker room shelf at Homegoods for a good price that just needed a bit of stainless steel spray paint. I can't wait to accessorize it!

I'm also debating whether to change the hardware from chrome to oil rubbed bronze. I think it would look so much better, but it would be quite expensive and I really just wanted to give this bathroom a mini-makeover with mostly paint. I haven't bought cabinet knobs since I've yet to decide on the hardware color, but just typing this out makes me lean towards the oil-rubbed bronze. What do you think? Once I make that decision and whether to replace the shower curtain I think this makeover will be completed quickly. I'll keep you updated!


Living Room Update

Nov 14, 2013

A few weeks ago I moved my sofa from in front of the windows to face the fireplace. This arrangement never worked with my old leather furniture because it was oversized, but when I saw how nice it looked when Melissa at The Inspired Room did the same I decided to give it a try. I lived with it for a while before I showed you because I wasn’t sure if I’d change it back, but I really like it this way. What do you think?

Before


After

DSC_3511


DSC_3507

Mario's photo bomb.

I’ve had this console table for years and decided to drag it back from the garage to see how it would look behind the sofa. I love a table here, but I’m not sure if I will replace this one or make a DIY project of it. Maybe chalk paint and new knobs?

DSC_3508


The view from the kitchen.

DSC_3510

Yes, that is a Christmas tree! It's not even close to being done, but I just couldn't wait any longer.


DSC_3511


DSC_3524

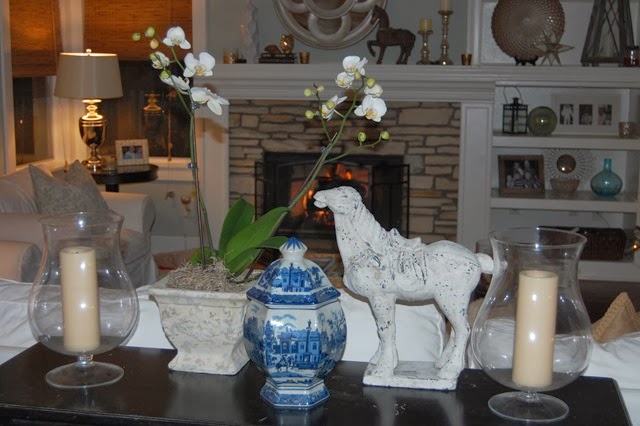
I love having a new table to decorate. I moved these candles here from my entryway and then added the rest. The horse is from Homegoods and the vases are from Hobby Lobby. My fingers are crossed I don't kill the orchid!


http://thriftydecorchick.blogspot.com/2014/01/january-before-and-after.html


Savvy Southern Style


A Luxe Thanksgiving Wreath

Oct 28, 2013

My crafty side came out of hibernation recently and I decided to make a fall wreath for my dining room this year. I’m not really a fan of wreaths lately for some odd reason, but I came across a gold spray painted magnolia wreath on Pinterest that was simple and elegant. Even though I’m a reluctant crafter I have made several wreaths before and found it pretty easy. Well, not this one! It would have been easy had I known a few things ahead of time. Next time, I’ll actually click on the link and read the directions no matter how simple it looks. I pretty much did it all backwards, but figured it out in the end. Now that my fingers have recovered from the sting of the hot glue gun, I love it and would do it all over again.

DSC_3474

I used fake magnolia leaves, which is easier since you can shape the branches to fit the wreath. I began by taking the leaves off the branches and gluing them to the styrofoam wreath, but it didn’t look quite right because you could tell they were glued and didn’t have a full natural appearance. It looked so much better once I trimmed the stem and shaped the branch to fit the wreath. Then, I hot glued it to the styrofoam. In retrospect, I should have spray painted the leaves gold first because when the branches slipped the unpainted green underneath showed. I had to spray paint it three different times because of this and hot glue it over and over again until it stayed. I can’t tell you how many times I burned my fingers. But, the hardest part is shaping the leaves just right on the edges of the wreath. Make sure to take a few leaves off the branches to hot glue on the edges of the wreath to get a perfect round appearance, or a perfectly imperfect round appearance. Winking smile You’ll also need spare leaves to glue around the sides of the wreath so the styrofoam is completely covered. I also happened to find a few feathers in my attic from years ago that I never used when looking for a wreath hanger. Don’t you have feathers just sitting around in your attic? Well, I never found the hanger and ended up using a Command hook, but the feathers were a great find. I cut them in half and glued them around the wreath and love how it gives it a little oomph.

Here it is on my dining room window.

DSC_3481

I took the blinds down recently and the windows just felt a bit naked despite the new drapes. This window used to be visible from the street, but the fence was moved up in front of it after we built the pool because of the equipment on the side of the house. I love that the window is now in the backyard for more privacy. The drapes still haven’t been ironed, but I’ll get around to it before Thanksgiving…I hope. I bought them at Target for a great deal. I’d love to dress them up a little with some trim and maybe a French pleat at the top. My sewing skills are a bit too beginner right now so I ended up gathering up three pleats and clipping the backs for now with old curtain rings.

DSC_3493

I still have quite a bit to do in here before I can call it done, but it’s coming along!


My New Fall Fashion Essential: Cropped Skinnies

Oct 21, 2013

How was your weekend? Mine was busy with various projects around the house. I finished painting my boys' bathroom, but then I noticed a few missed spots yesterday. Of course! I'll be touching up those today and cleaning up the mess. My boys will be thrilled to get their bathroom back and I'll be thrilled to get them out of mine! I'll show you an update and the painting method I used for the cabinets. I've always sworn by oil-based paint for woodwork, but I used a new hybrid type of latex paint and I'm officially a convert. I also rearranged my living room furniture, bought new drapes for my dining room, started cleaning out the garage, and added a bit of lighting to our backyard. I'll be going into detail on these projects as I finish them up. It wasn't all work and no play this weekend. The weather finally turned cool and we were able to use the fire pits in the backyard last night. We broke out the marshmallows and made s'mores with the kids. I had no idea how nice it would be sitting outside by the fire with my wine and s'mores. I did not want to come inside last night and it was such a great way to finish off the weekend.

Because of the change in weather I'm thinking more about fall clothes. I bought two pair of cropped skinny jeans at Anthropologie recently, white and gray. The best part is they were 70% off! I've always stayed away from cropped jeans because I feel they make my legs look shorter, but I have found ones that are cropped right near the ankle do not visually cut off the length of your leg. Another side benefit is how great they make your foot and ankle look, especially for a cankle sufferer like me. ;)

skinnies : cropped : dark wash :
Miranda Kerr Photo - Miranda Kerr Out in NYC
Olivia Palermo #casual #style
olivia palermo casual style- I just might buy some converse
I love how they can be worn with tennis shoes, heels, boots and flats. I've been wearing mine almost every day dressed up or dressed down. I never thought these would look good on me and avoided this look forever. The terms cropped and skinny made me stay away, but I'm so glad I tried these on. I have to admit the only reason I did was because they were on the sale rack, lol. Have you bought anything new this fall that you just love?